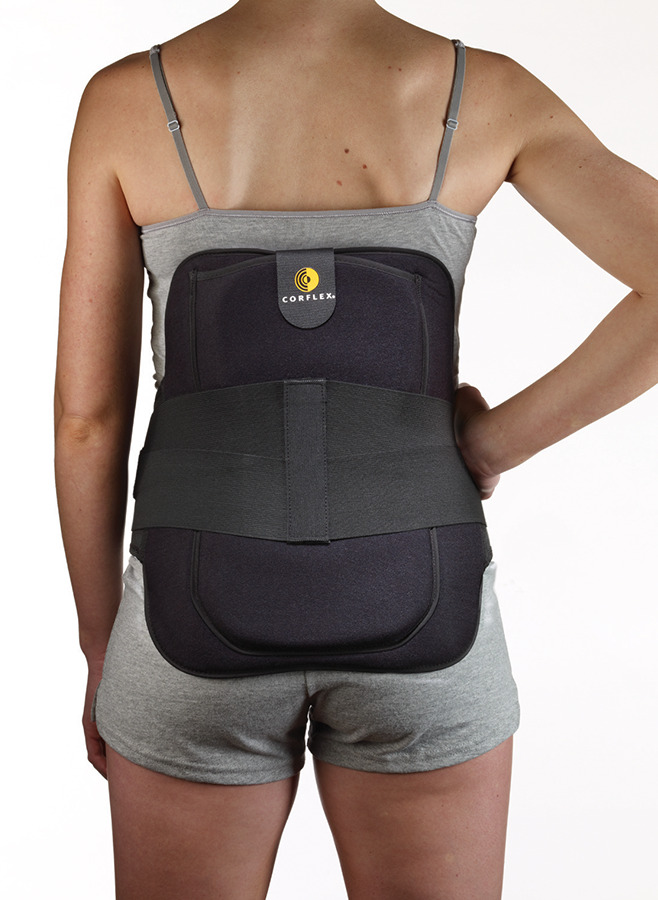
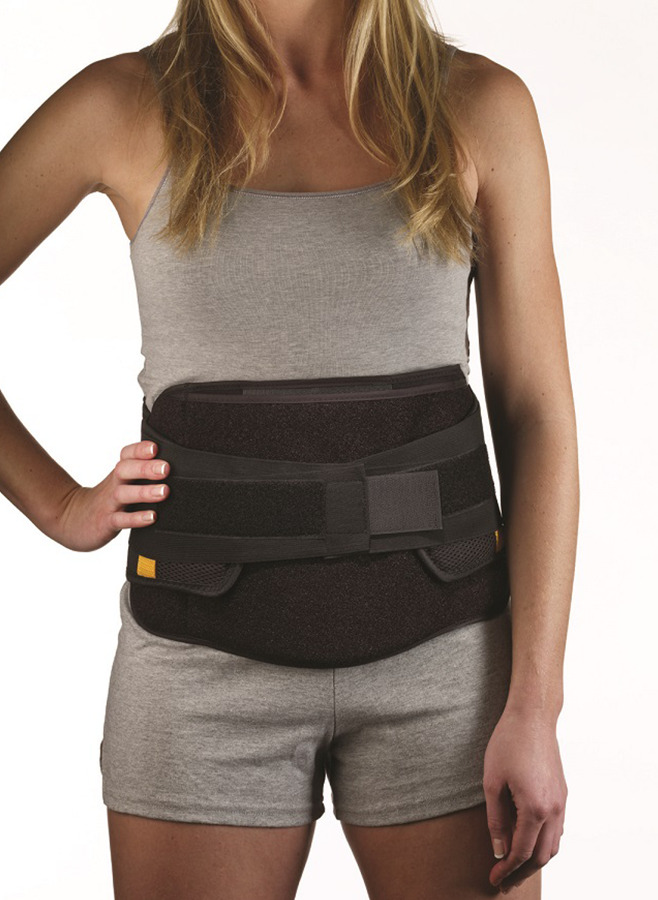
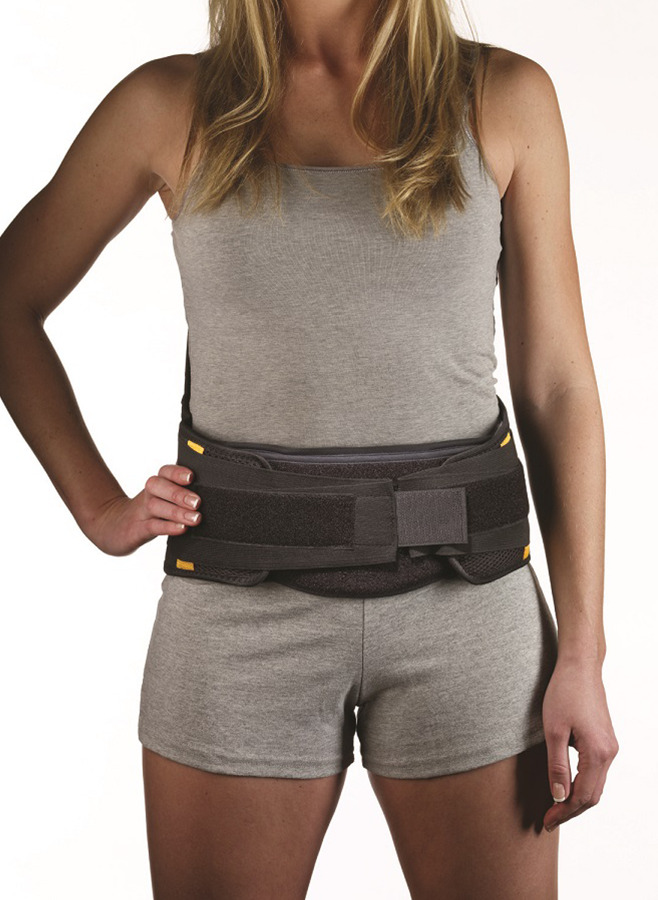
DISC UNLOADER SPINAL ORTHOSIS LSO
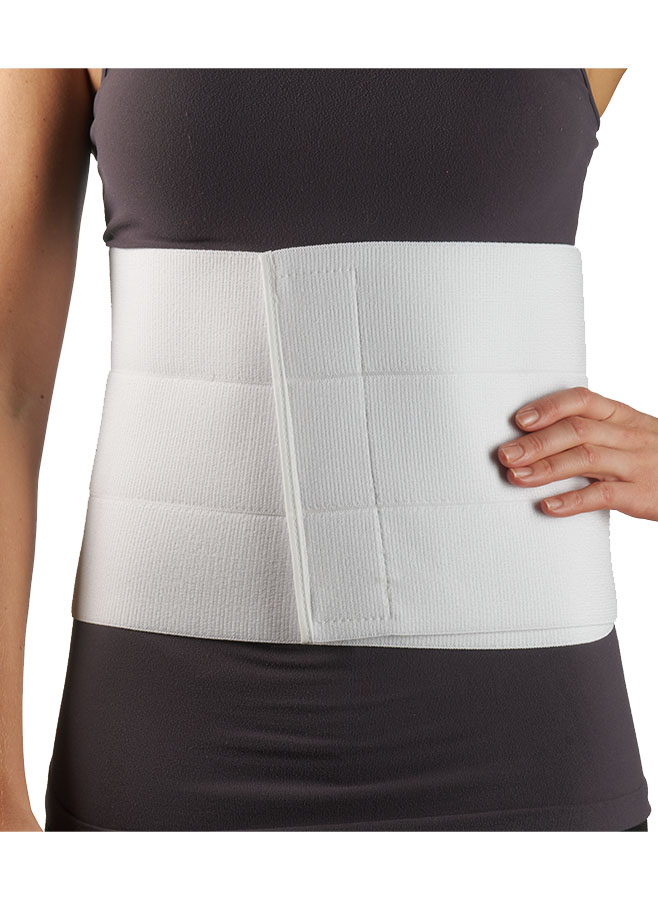
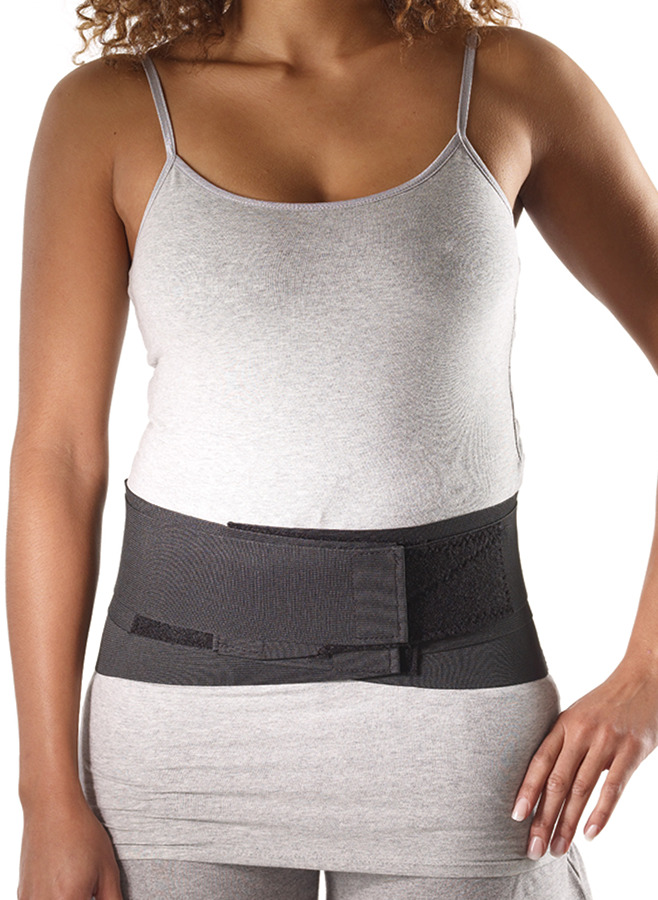
- Offers support from T9 to SC junction; features a modular design that helps relieve back pain by reducing intradiscal pressure through circumferential compression; 6″ anterior and 15″ posterior panels accept anatomically designed inserts along with a gel pack that provides the benefits of cold/hot therapy.
- Indicated for chronic or acute back pain, discogenic disc disease, post-surgical stabilization, spinal stenosis, herniated disc, stable non-displaced spinal fractures (L2-L5), radiculopathy, sciatica, spondylolisthesis, facet syndrome and general weakness of the lumbosacral spine.
- Constructed of soft breathable fabric with contoured rigid A.B.S. anterior and posterior plastic inserts, elastic double pull and contact closures.
HCPCS Code: L0631 (Custom Fit), L0648 (OTS)
| Product Number | XS | S | M | L | XL | 2XL | 3XL | 4XL |
| 6″ Standard | 35-4200 | 35-4201 | 35-4202 | 35-4203 | 35-4204 | 35-4205 | 35-4206 | 35-4207 |
| 10″ Extended | 35-4300 | 35-4301 | 35-4302 | 35-4303 | 35-4304 | 35-4305 | 35-4306 | 35-4307 |
| Sizing Guide | 25”-30” | 30”-35” | 35”-40” | 40”-45” | 45”-50” | 50”-55” | 55”-60” | 60”-65” |
| Measurement taken from waist circumference. | ||||||||
| Accessories | 9”x11” | |||||||
| Gel Pack, each | 72-7006 | |||||||
| Gel Pack, 10/box | 72-7006-010 | |||||||
Close all contact closures and hand wash in warm water with mild soap.
Product should be air-dried.
Do not use high temperatures to wash or dry.
- Release Velcro closures, open orthosis and lay flat.
Note: rigid inserts may be removed from pockets, heat molded to specifications, and reinserted or it may be used without inserts. - Place anterior (low profile) panel on center of abdomen, making sure loop portion is facing outward and curve is facing down.
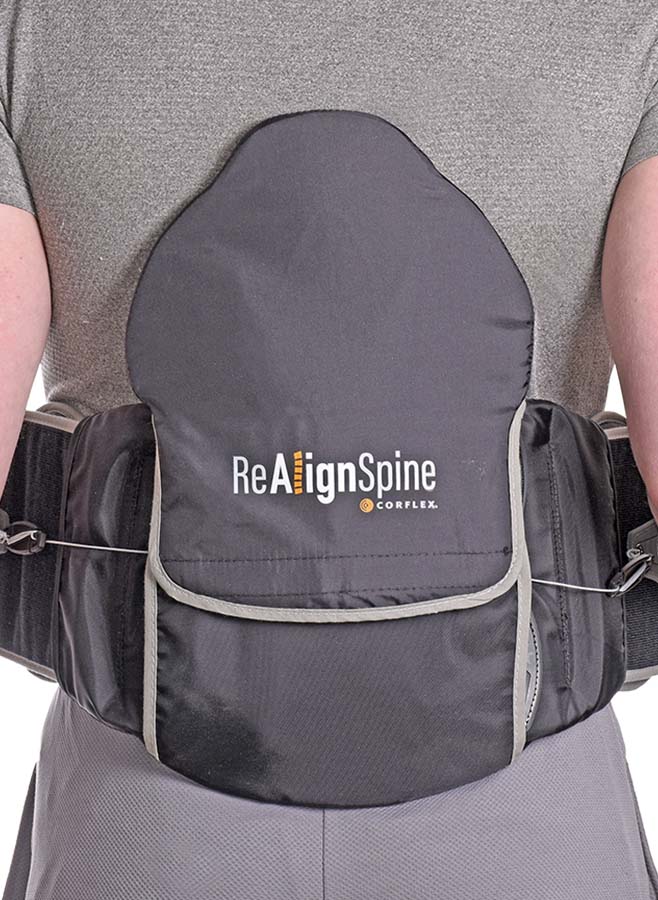
- Place posterior panel on center of back, making sure Corflex logo and elastic double-pulls are face outward.
- Grasp both ends of posterior panel, bring forward, and attach to loop on anterior panel.
- Grasp both ends of elastic double-pull, pull one side across and attach onto loop area on opposite side of posterior panel, pull other side across and attach to loop area on opposite double-pull.
- Adjust to desired tension, making sure not to over tighten.